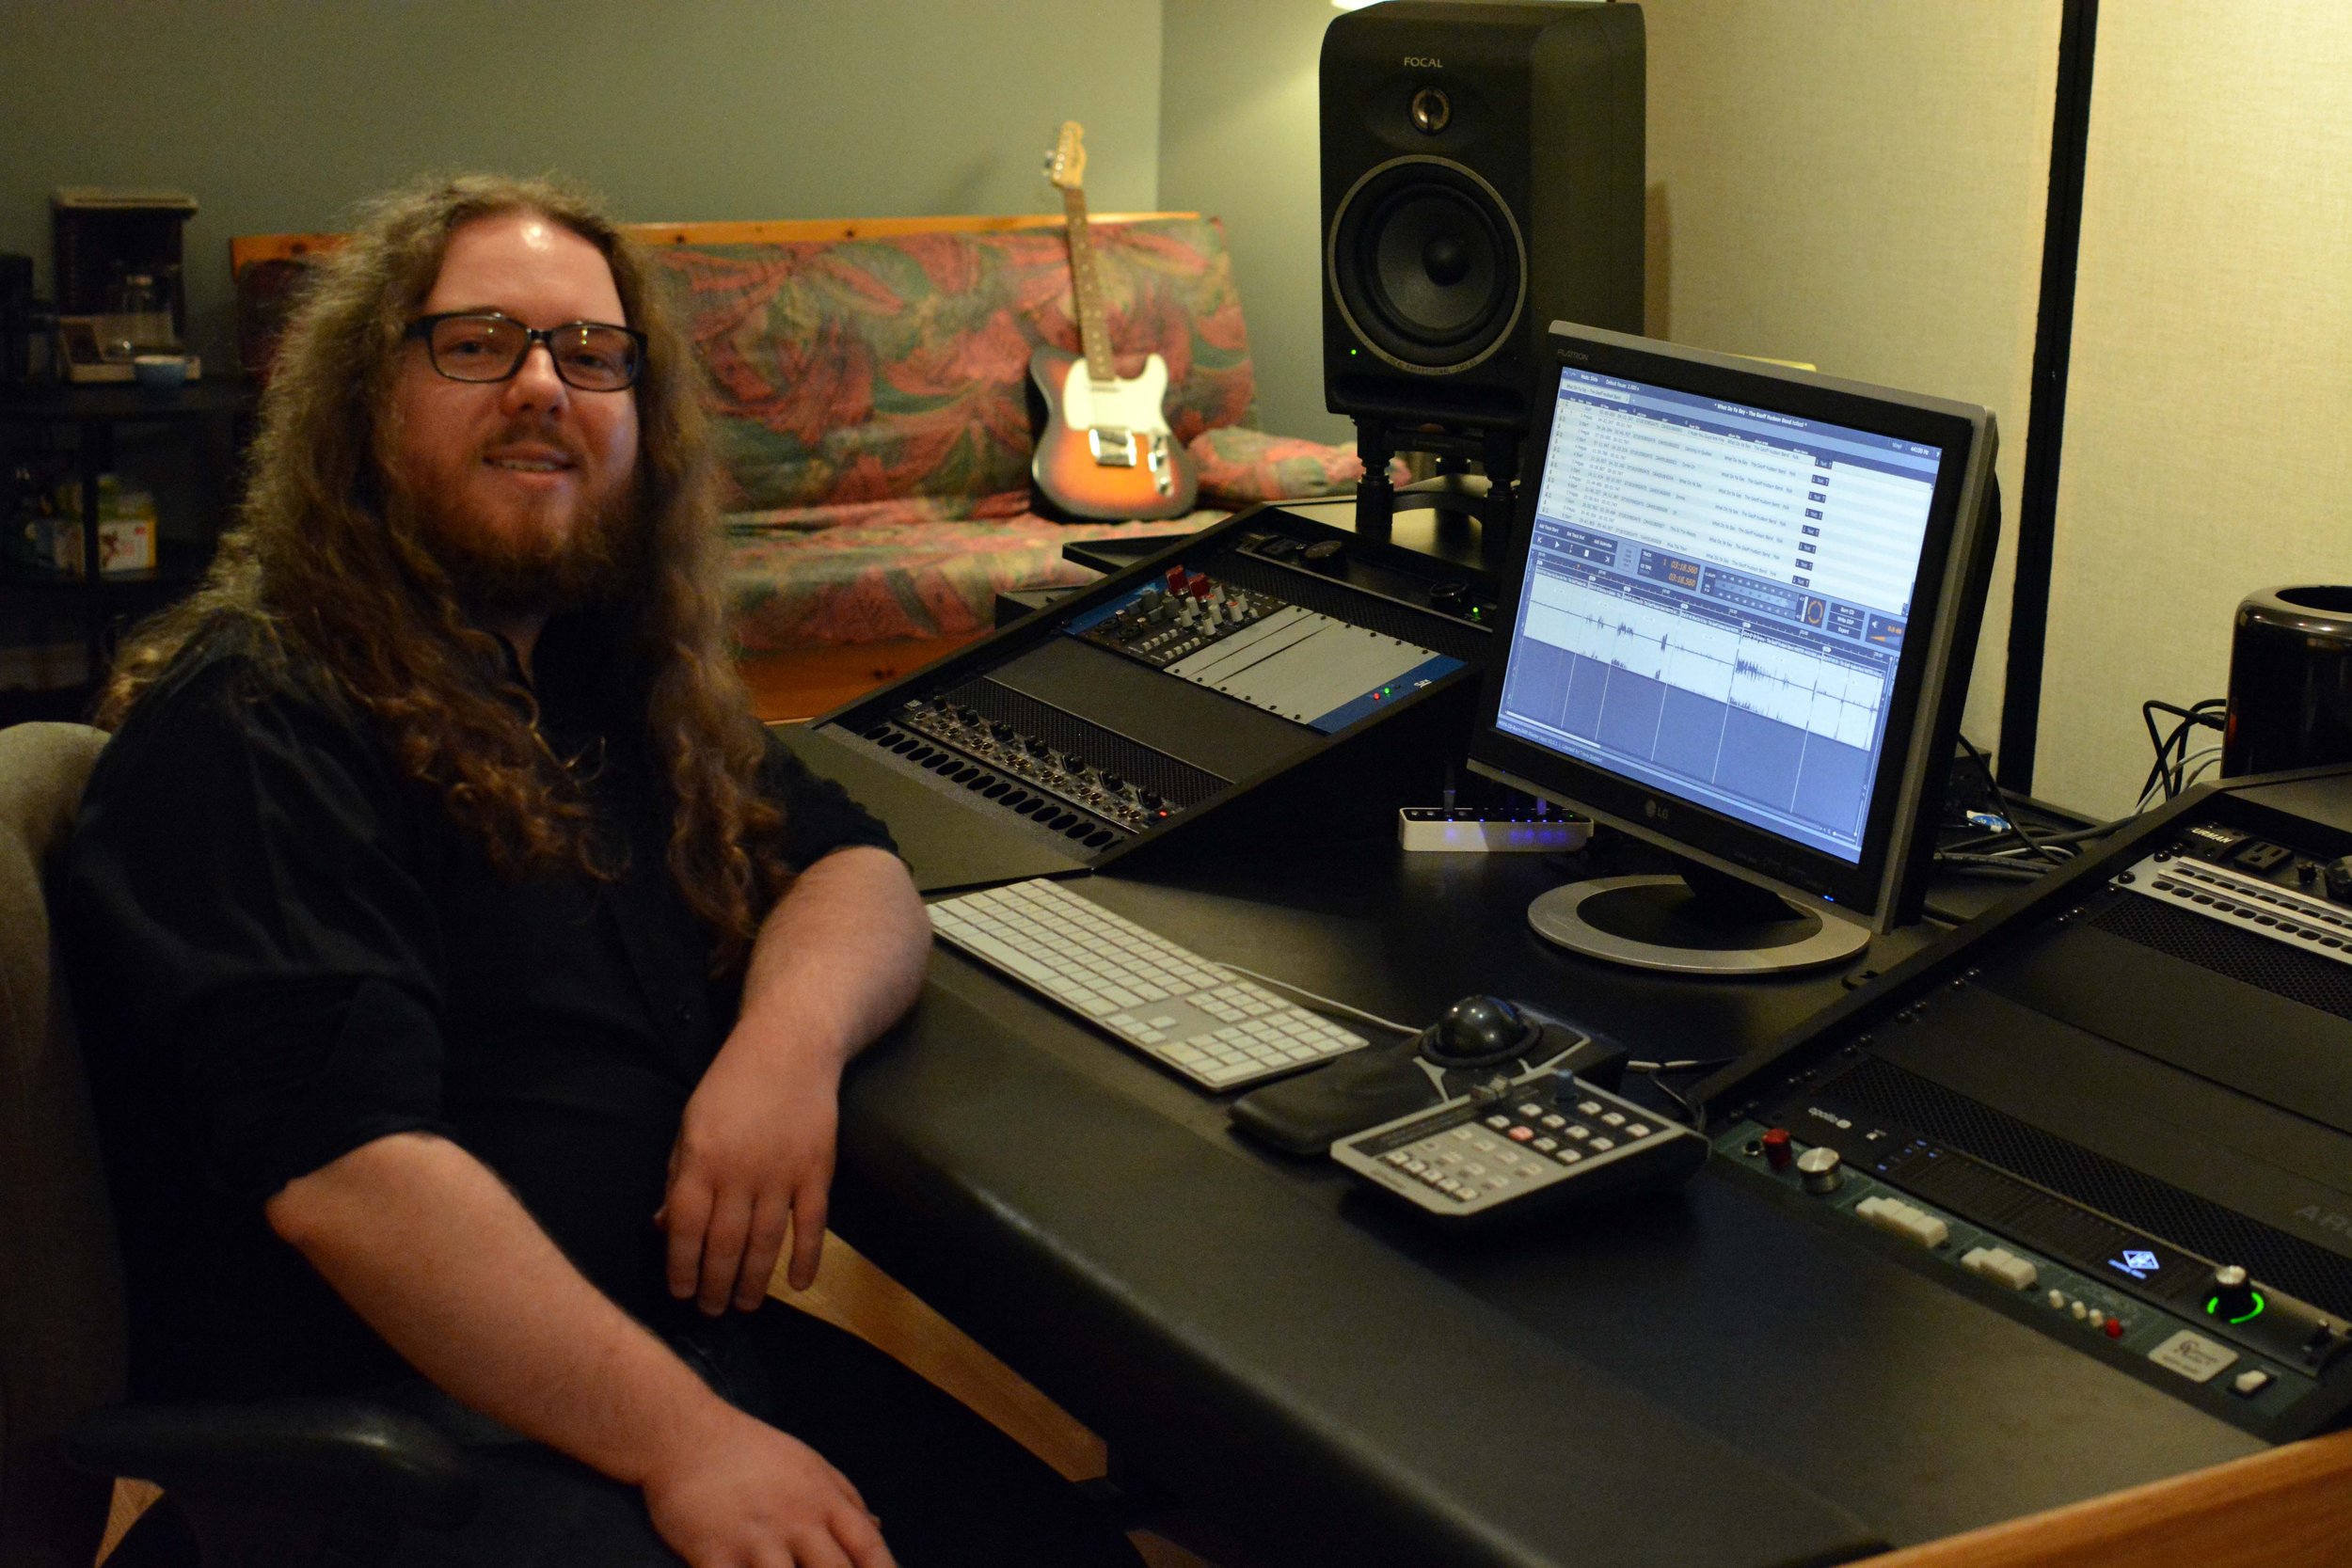
Recording Guitars Like a Pro
/There seems to be a common misconception that throwing a single SM57 in front of your amp and hitting record is the best way to record electric guitar. I’m not really sure why this recording myth hasn’t died out yet because it’s simply not true. I can almost guarantee that your favourite records were made using multiple microphones placed on multiple amplifiers, as this is something that professional engineers have been doing for decades. Keep reading to find out how the pros record guitar.
Multiple Amps
The whole multiple-mics-multiple-amps thing sounds pretty straightforward until you consider how you’re going to get the signal from the guitar to multiple amplifiers. After all, most guitarists only ever play into one amplifier at a time. This problem can be solved with a splitter: a device with the sole purpose of splitting a single input signal between multiple outputs. These devices have an input for the main signal, which the guitarist will plug their instrument into, and multiple outputs that can each be connected to the input jack on an amplifier (see Fig. 1). I recommend these over Y-cables because a splitter will properly duplicate the signal to keep voltage to each amplifier consistent, avoid signal drop-off, and prevent ground loops. I usually use the Radial JD7 Injector, but other companies like Rane and Morley also make splitters that are more budget-friendly (although I’ve never used these so I can’t vouch for their quality).
Fig. 1: Splitting the signal to multiple guitar amps using a splitter
Multiple Microphones

Condenser Microphones are often the best choice for clean guitar tones.
“What microphones can be used on a guitar amp?” you ask. Almost anything. Most modern condenser microphones are durable enough to withstand the sound pressure levels created by guitar amplifiers, and if you’re careful with them even ribbon microphones can be placed in front of a guitar amplifier (just don’t turn it up too loud). Dynamic microphones have traditionally been the most common choice for recording guitar, but that doesn’t mean that they will perform best in every scenario. I recommend testing out different microphones in your collection to see what sounds best with your specific amplifiers for each different tone you want. Some of my favourite microphones for guitar amplifiers include the Rode NT1A, the Audio-Technica ATM25, and, yes, the Shure SM57.
Once you’ve decided which microphones you’ll be using, simply run them into open channels on your console or interface. If at any point in the recording process you decide that you don’t like the sound that one of your microphones is adding to your guitar tone, just mute it or disarm the track in your DAW. On a console, I recommend bussing these channels down to one channel if possible, as the number of tracks in your DAW can quickly become unmanageable. Consider this: if you have two microphones per amp on three different amps, each take is 6 tracks in your DAW. If you double the rhythm guitar part and have one lead part, this means that you’ve already got 18 different tracks of guitars. If for whatever reason you can’t blend the different signals before they reach your DAW, do your bussing in your DAW and then record the blended signal back into the DAW on a new track afterwards to keep your session neat and organized.
On-Axis vs. Off-Axis
FIG. 2: On-Axis vs. Off-Axis Microphone placement
Where you place your microphones will have an impact on your tone as well. Pointing the microphone directly at the centre of the speaker (on-axis) will produce a brighter and more aggressive sound. Moving the microphone to either side so that it is not pointing at the centre of the speaker (off-axis) will produce a darker and less aggressive sound (see Fig. 2). When changing microphone position, be careful not to move the microphone forward or backward, as this can induce phase issues.
Phase Issues
Any time you have multiple microphones placed on the same source there is the potential of running in to phase issues. To avoid these, make sure that all microphones are placed at an equal distance from the speakers of the amplifiers. Note that this means the diaphragm of each microphone, not the front of the microphone grille. If you’re having trouble finding the diaphragm through the grille, use a flashlight or the LED light on your cell phone to shine through the grille and light up the diaphragm. Once you have the microphones placed, briefly flip the phase on the input of each signal to make sure there are no phase issues. Phase is too lengthy a concept to explain here, but you’ll know if there are phase issues because flipping the phase of each microphone should make the signal sound significantly worse (usually described as sounding hollow and losing impact). If the signal sounds better with the phase of any microphone flipped, check your microphone position, re-position that microphone accordingly, and check the phase again.
Getting Tone at the Source

The amp rig I used while recording an eP for Koi Getson.
It seems like every engineer has different reasons for using different microphones on different amps, but the one thing every professional engineer agrees on is that you need to start with a good guitar tone at the source. Spend time during your session to get the right tone on each amp and if you don’t have the equipment you need, rent it. You will never make a 15W solid-state practice amp sound like a Marshall JCM800 regardless of microphone choice/techniques and renting a couple amps for a week to record guitars for an album is usually pretty inexpensive. Once you’ve got the tone you want on the amps themselves, then place your microphones to capture that.
Conclusion
There’s a lot more to recording guitars than just throwing an SM57 in front of an amp. The amps you use, the microphones you choose, how you place them and the way you process them all have a huge impact on your guitar tone. By using the same method as professional engineers, you too can take the first step to getting great electric guitar sounds.
The Home Studio Archive is reader-supported. When you buy from links on our website we may earn a small commission at no additional cost to you. We do not accept compensation for reviews and only recommend products we have used and tested ourselves.
Buy It Now
B&H Photo Video
Radial JD7 Injector
Rane SM26S
Morley ABY Selector
Amazon
Radial JD7 Injector
Rane SM26S (click here for Canadian Price)
Morley ABY Selector (click here for Canadian Price)