Parallel Compression Explained
/When talking about compression, there’s one topic that always seems to make its way to the forefront of the conversation: parallel compression. It’s behind almost every professional drum and vocal sound, and can be a great way to help individual elements cut through a busy mix. Let’s take a look at what it is and how we can use it.
Series and Parallel Processing
First, we need to differentiate between “series processing” and “parallel processing”. Having a clear understanding of this concept is essential to understanding parallel compression. Series processing (see Fig. 1) is where you have all of your inserts following one another, so your signal flows from your send to your first insert, then to your second insert, and so on until it reaches your return and goes back into your channel strip and eventually winds up at your fader. Parallel processing (see Fig. 2) is where your signal flows from your send to another channel on which your processing takes place, and then that channel is blended into the mix alongside (i.e. parallel to) your original signal. If you have any experience with building electrical circuits, this will sound very familiar.

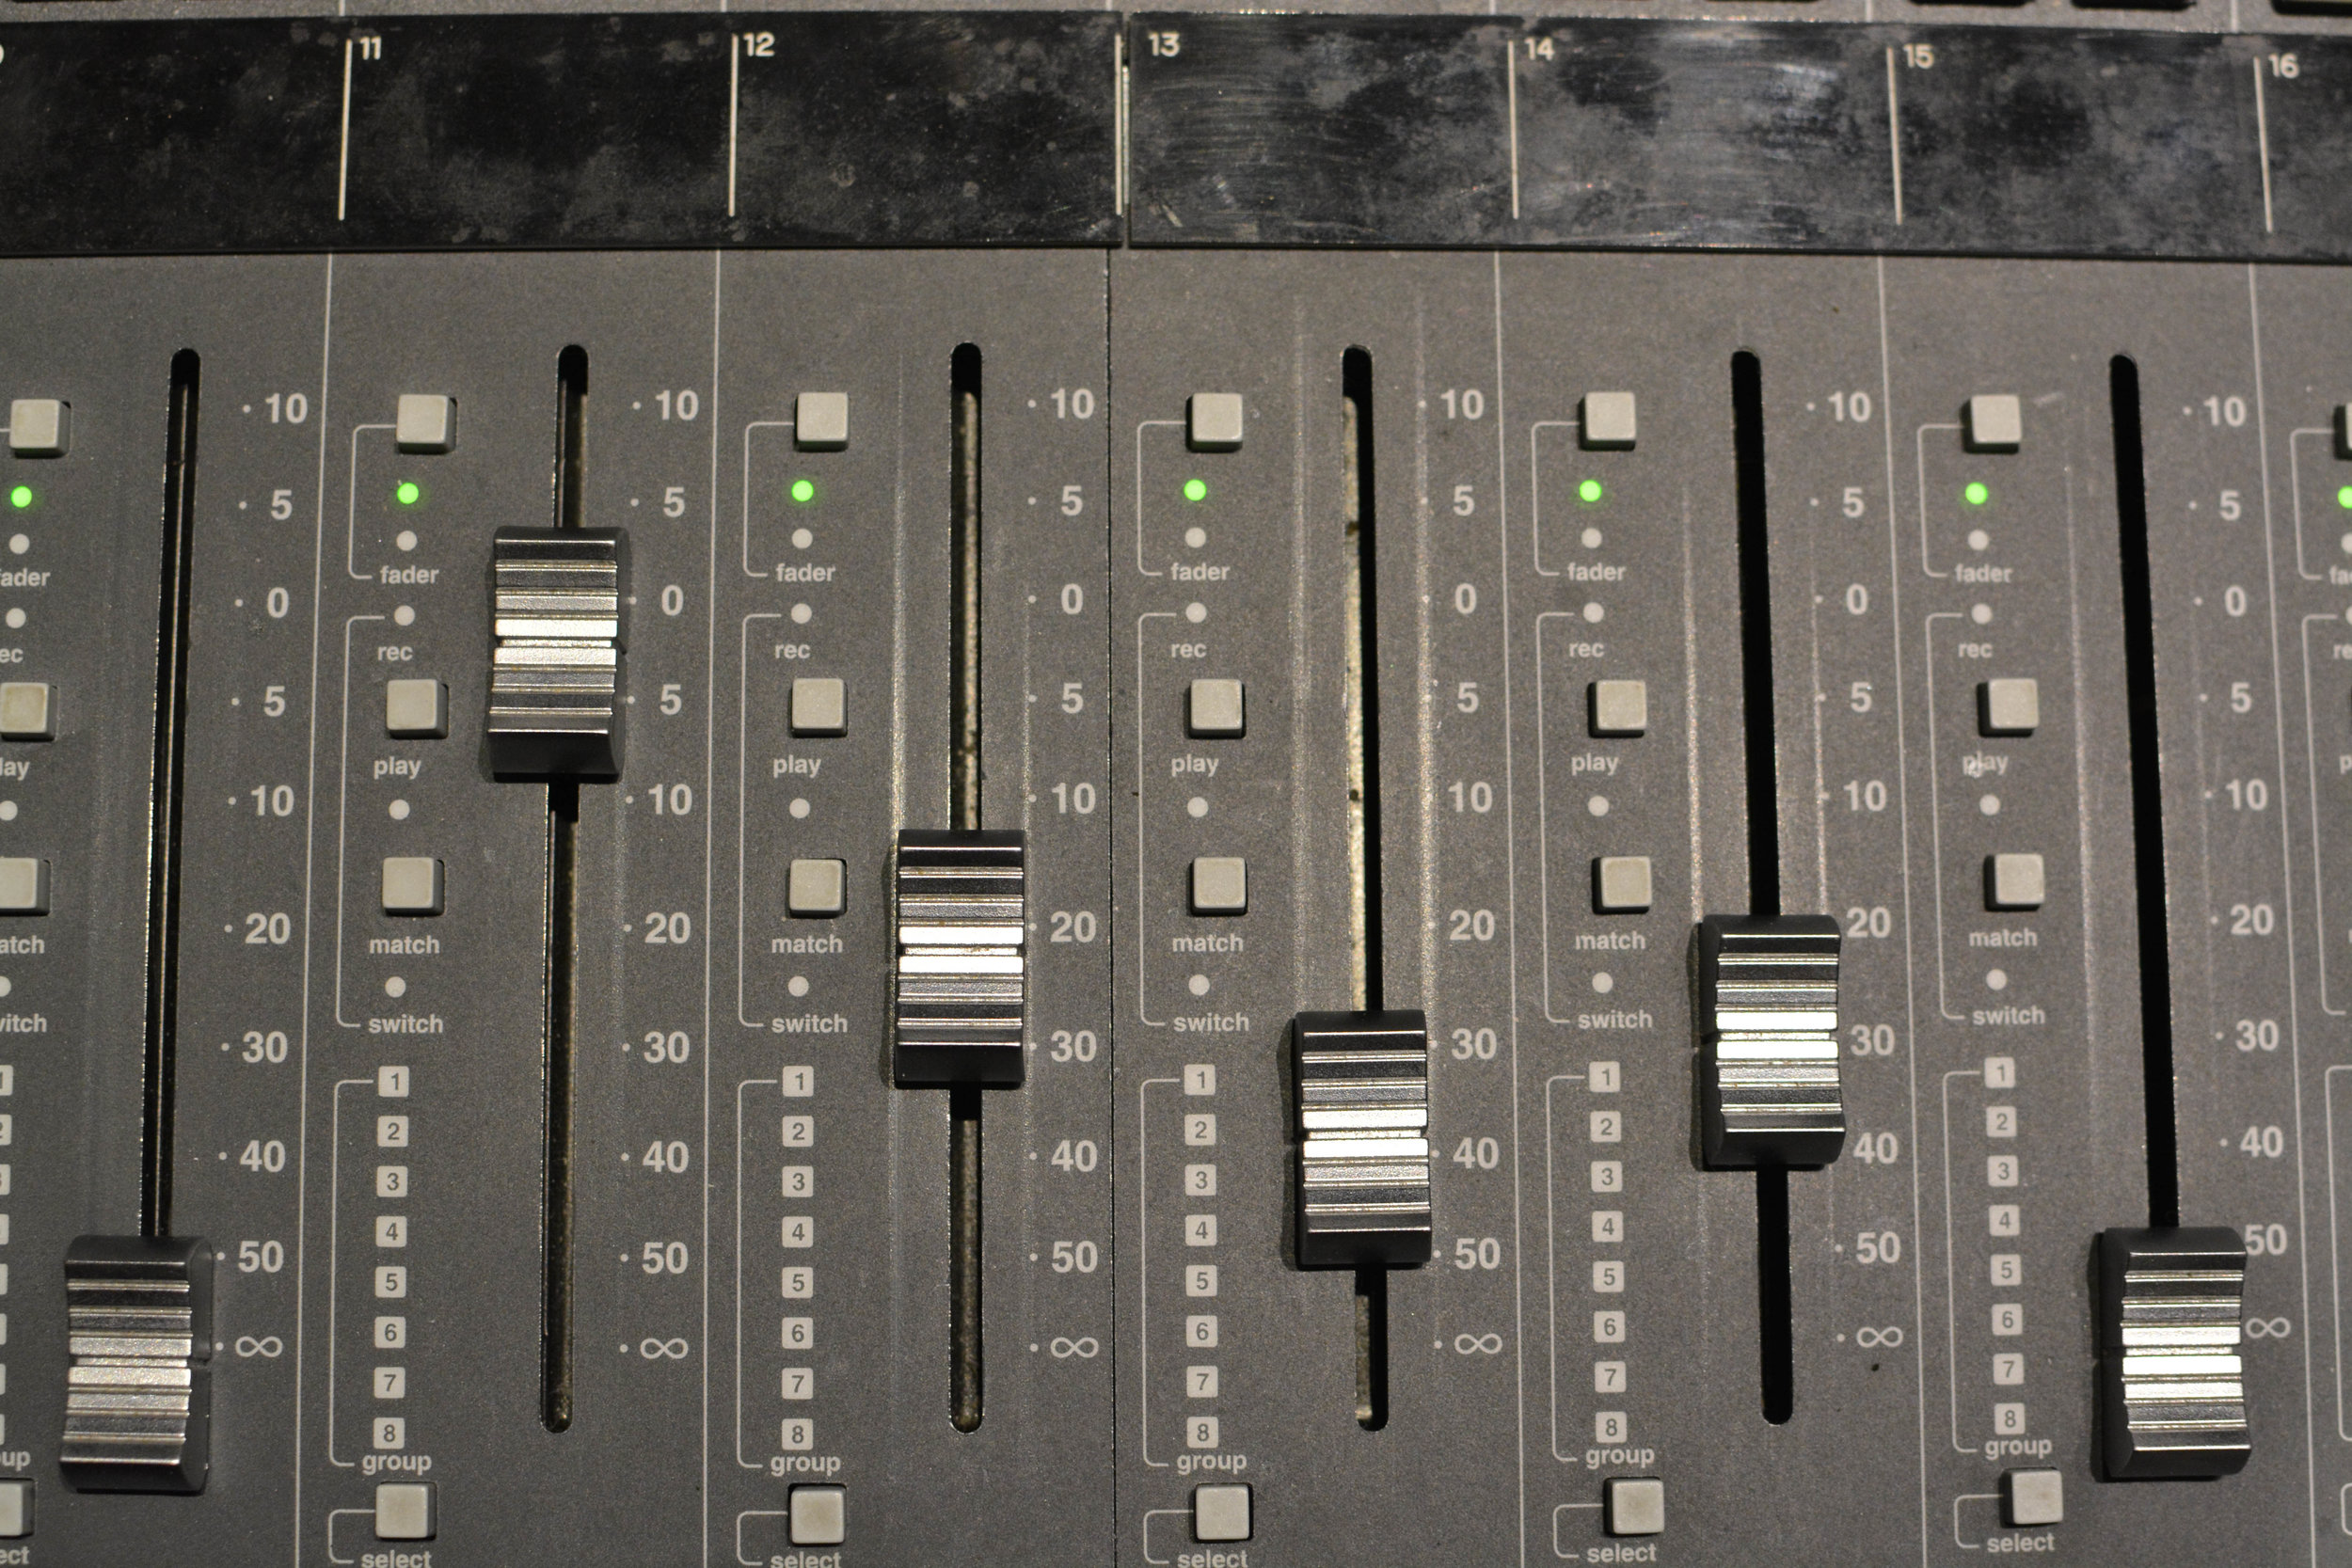
Fig. 1: Series Processing Using a Console

Fig. 2: Parallel Processing Using a Console
I’ve used a console to explain this, however most DAWs function in a similar way. I’ve illustrated this below in Fig. 3 and Fig. 4 using Pro Tools.

Fig. 3: Series Processing Using a DAW
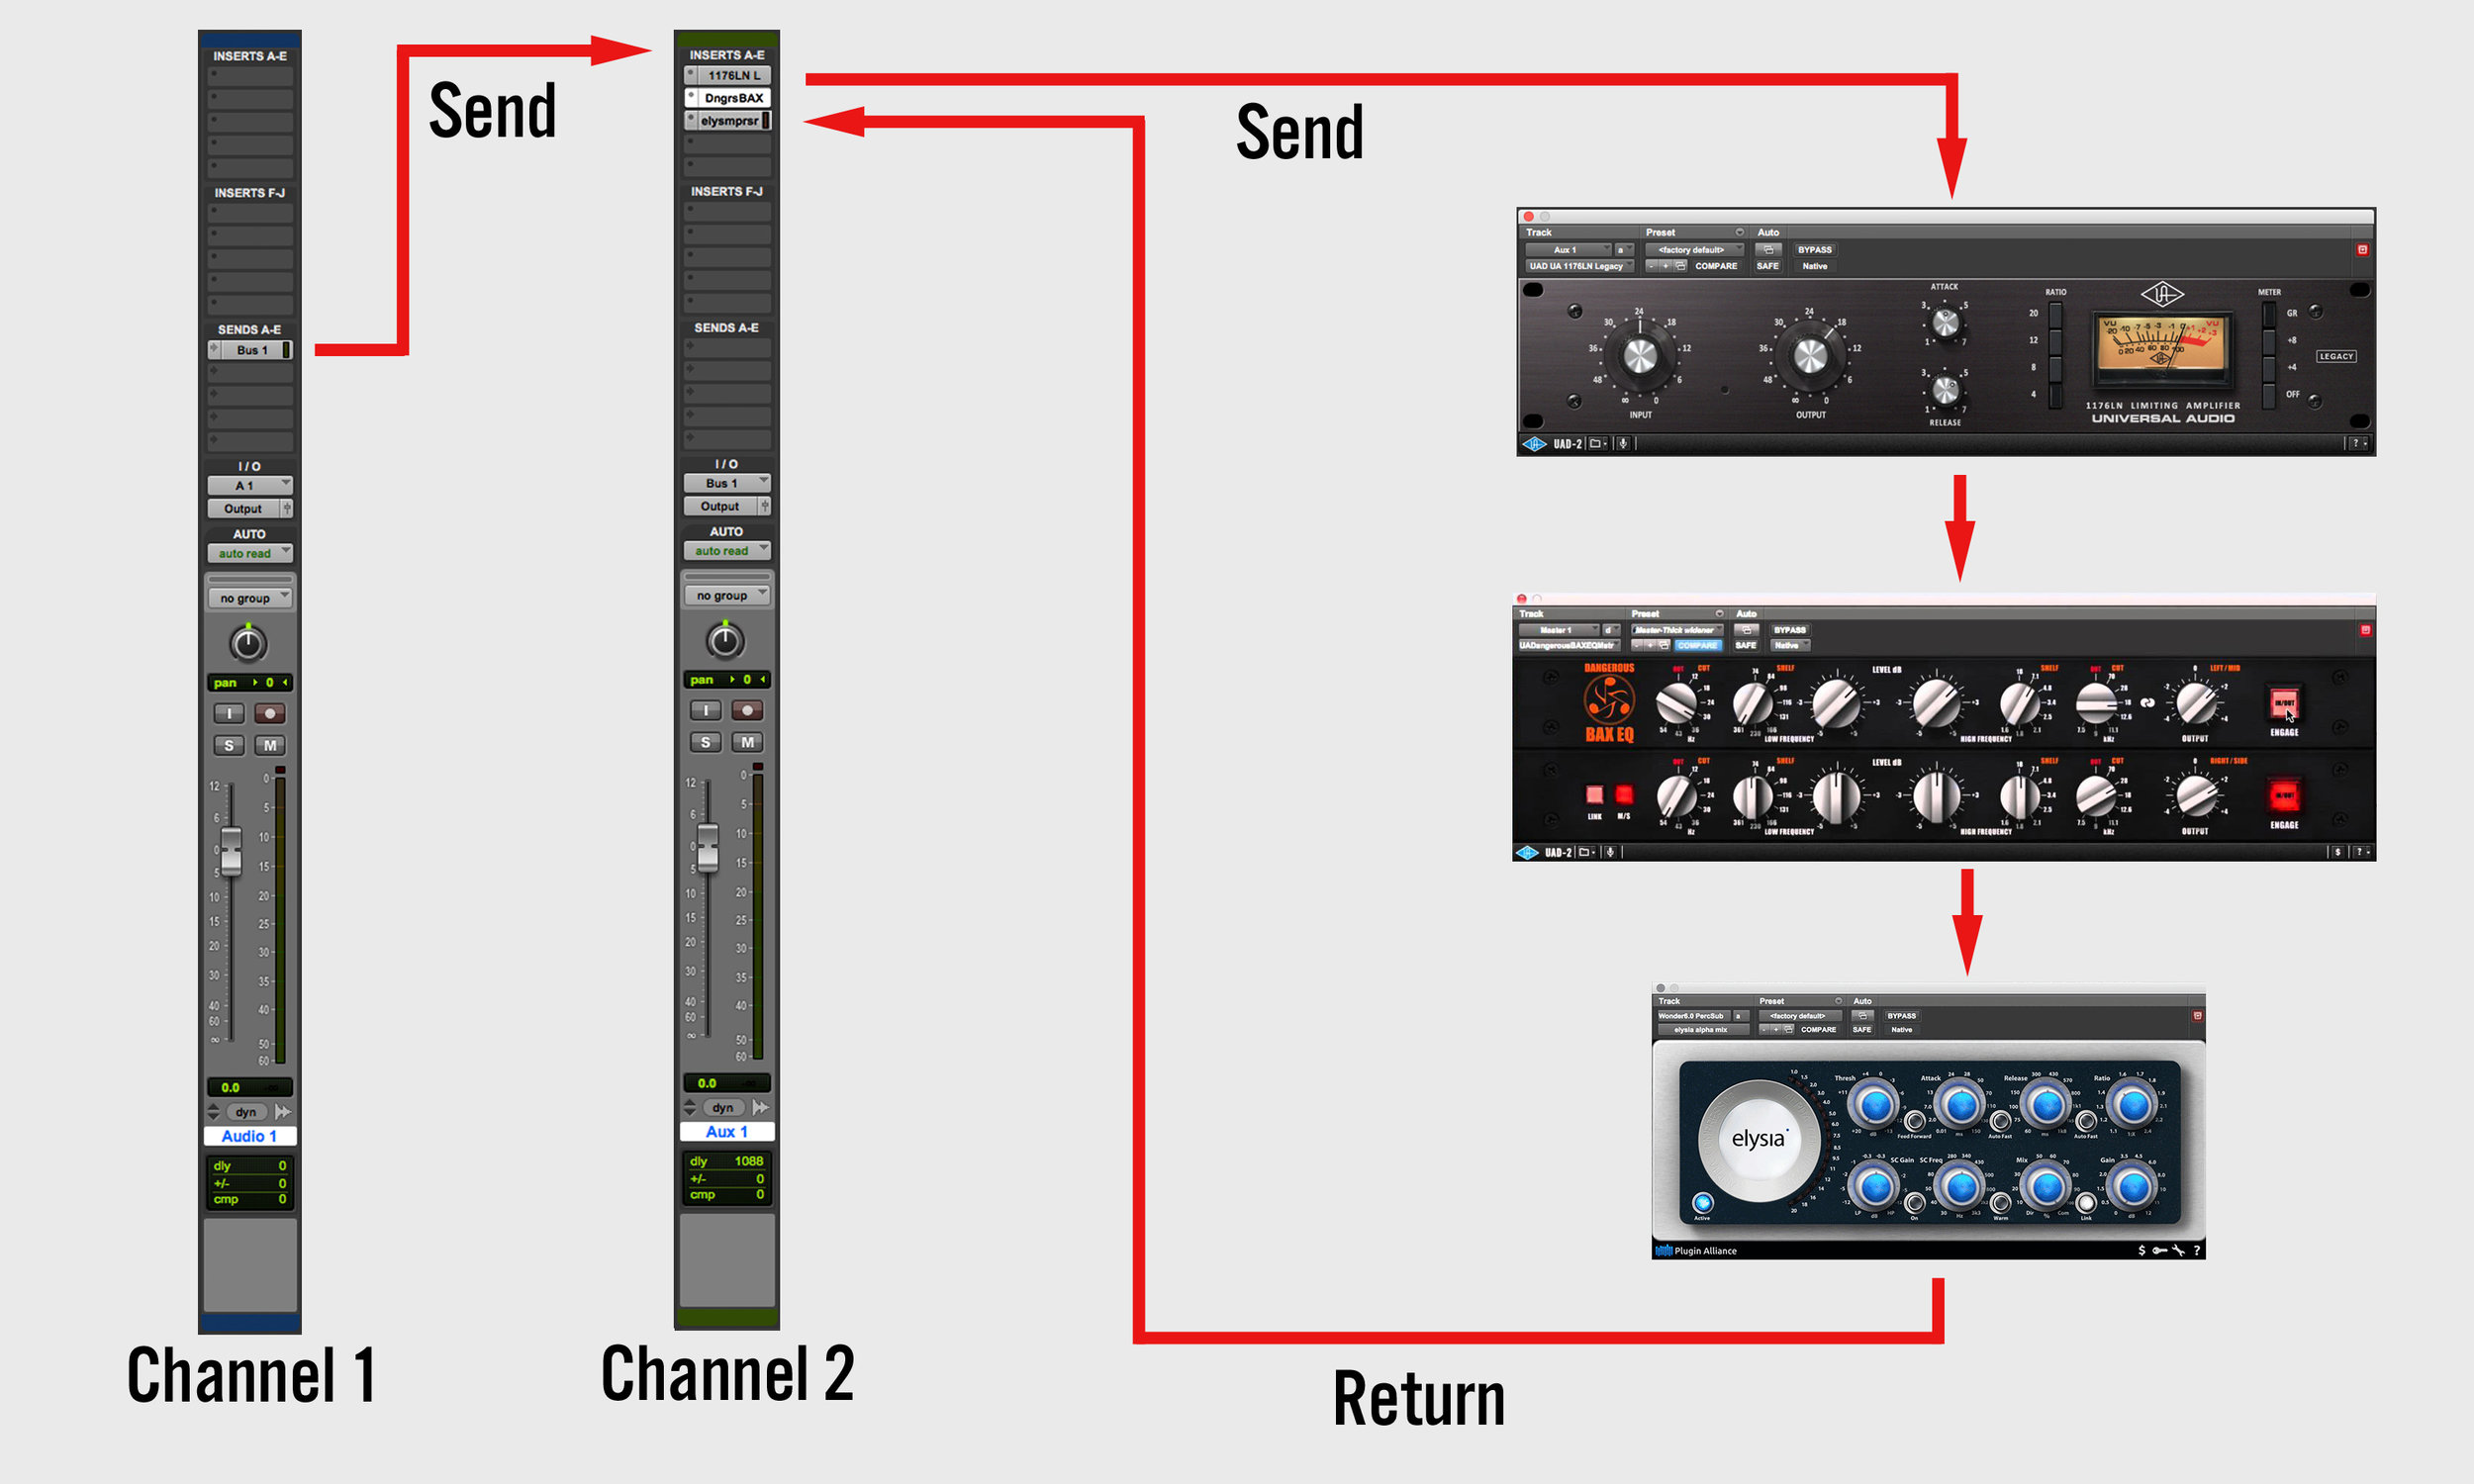
Fig. 4: Parallel Processing Using a DAW
Punchy Drums
Now that we have a clear understanding of the difference between series and parallel processing, we can apply the concept specifically to parallel compression (also referred to as "New York compression"). Let’s start with drums.
When working with drums, you will want to send each drum track to the compressor while still having control over the uncompressed signal. To do this, assign the output of all of your drum tracks to an aux track. This will be your drum bus. Then create sends on your drum tracks that feed into another aux track. This will be your compression bus. Select a compressor to place on your compression bus and route the output of your compression bus to the same destination as the output of your drum bus (usually this will be a drum sub-master or your mix bus).
Fig. 5: An example of a drum session using parallel compression. This is what your session should look like after following these steps.
When setting up a compressor for parallel compression there are a few things to keep in mind. How you adjust the settings on the compressor is important and some compressors are better suited for this application than others. Your final decision should be made with your ears, but generally speaking parallel compression on drums should have a high ratio, a fast attack, a medium release, and the signal should sound significantly squashed. Your gain reduction meter should be showing 7-10dB of gain reduction depending on your compressor’s settings. As you compress more aggressively, you may notice that the compressor you have chosen is beginning to impart its own tone on your drums and that a small amount of distortion is creeping into your signal due to your release and ratio settings (note that this is different than clipping). In many cases this is actually desirable and helps contribute to a beefy and full drum tone, but opting for slower release times and lower ratios can minimize this effect.
Once you’ve got your compressor set up, slowly bring up the level of the compression bus to blend it in with your drum bus. If you have done this process correctly you will start to hear your drums take on a more punchy and full tone. Fig. 5 shows what this should look like in your DAW when you have finished.
UPDATE January 15, 2017: A little while ago, I was talking to a reader who suggested setting the release in time with the song and compressing with a longer attack so that the compressor would let the attack of the drum hit through before clamping down on the sustain part of the envelope. This is a useful technique with a very different sound than what I mention above. Compressing to modify envelope (whether used in parallel or series) is relatively advanced and really deserves its own separate article, but I thought it was worth mentioning here for the sake of completeness.
Giving Vocals Attitude
Let’s move on to vocals. Start by creating a send on your vocal track and route it to an aux track. This aux track will be your compression bus. This is similar to how we set up our drums, but just on a smaller scale.
Whereas parallel compression on drums can be quite aggressive, parallel compression on vocals is a slightly more delicate art. You still want to compress heavily, with your meter showing approximately 7dB of gain reduction, but your attack, release, and ratio settings should be more moderate. In this case, you generally don’t want the compressor to induce distortion or colour the tone as dramatically. Try opting for a medium attack and release with a 4:1 ratio. Use your ears to adjust these settings as necessary based on the vocalist’s performance, the style of music, and the compressor that you have chosen.
As you bring up the compression bus, you should notice the lower level sounds in the vocal performance (for example, the tail end of words) getting louder and the overall vocal tone sounding more forward and punchy. This can be great for getting that in-your-face vocal tone often found on hip-hop, pop, and rock recordings.
Tools of the Trade

A pair of 1176 compressors. The 1176 was originally designed in 1967 and, after Many revisions and updates, is still in production today.
Not all compressors are created equal. While every compressor can be used in parallel, some are better suited to the job than others due to attack/release times, choice of ratios, or design features unique to that model (the EL8 Distressor and API 2500 come to mind here). My personal favourite on drums are a pair of 1176s set to an 8:1 ratio. On vocals I recommend an EL7 Fatso with a couple notches of the “warmth” setting added, or an 1176 set to a 4:1 ratio. While these are not the only compressors that do the job well, they provide a pretty good starting point for those that want to try their hand at parallel compression. Universal Audio makes a very good software emulation of both of these units (although they are expensive and require a hardware hosting unit), with the Waves 1176 software emulations coming in a close second. Many DAWs also have compressor plugins built-in, with Pro Tools’ BF-76 and Logic’s Studio FET compressor both emulating the 1176, and for those just getting into the world of recording this provides a budget-friendly way to learn the techniques described above.
The Home Studio Archive is reader-supported. When you buy from links on our website we may earn a small commission at no additional cost to you. We do not accept compensation for reviews and only recommend products we have used and tested ourselves.
Buy It Now
B&H Photo Video
UAD Satellite Quad-core Thunderbolt
UAD Satellite Quad-core USB
Waves CLA-76
Amazon
UAD Satellite Quad-core Thunderbolt (click here for Canadian Price)
UAD Satellite Quad-core USB (click here for Canadian Price)